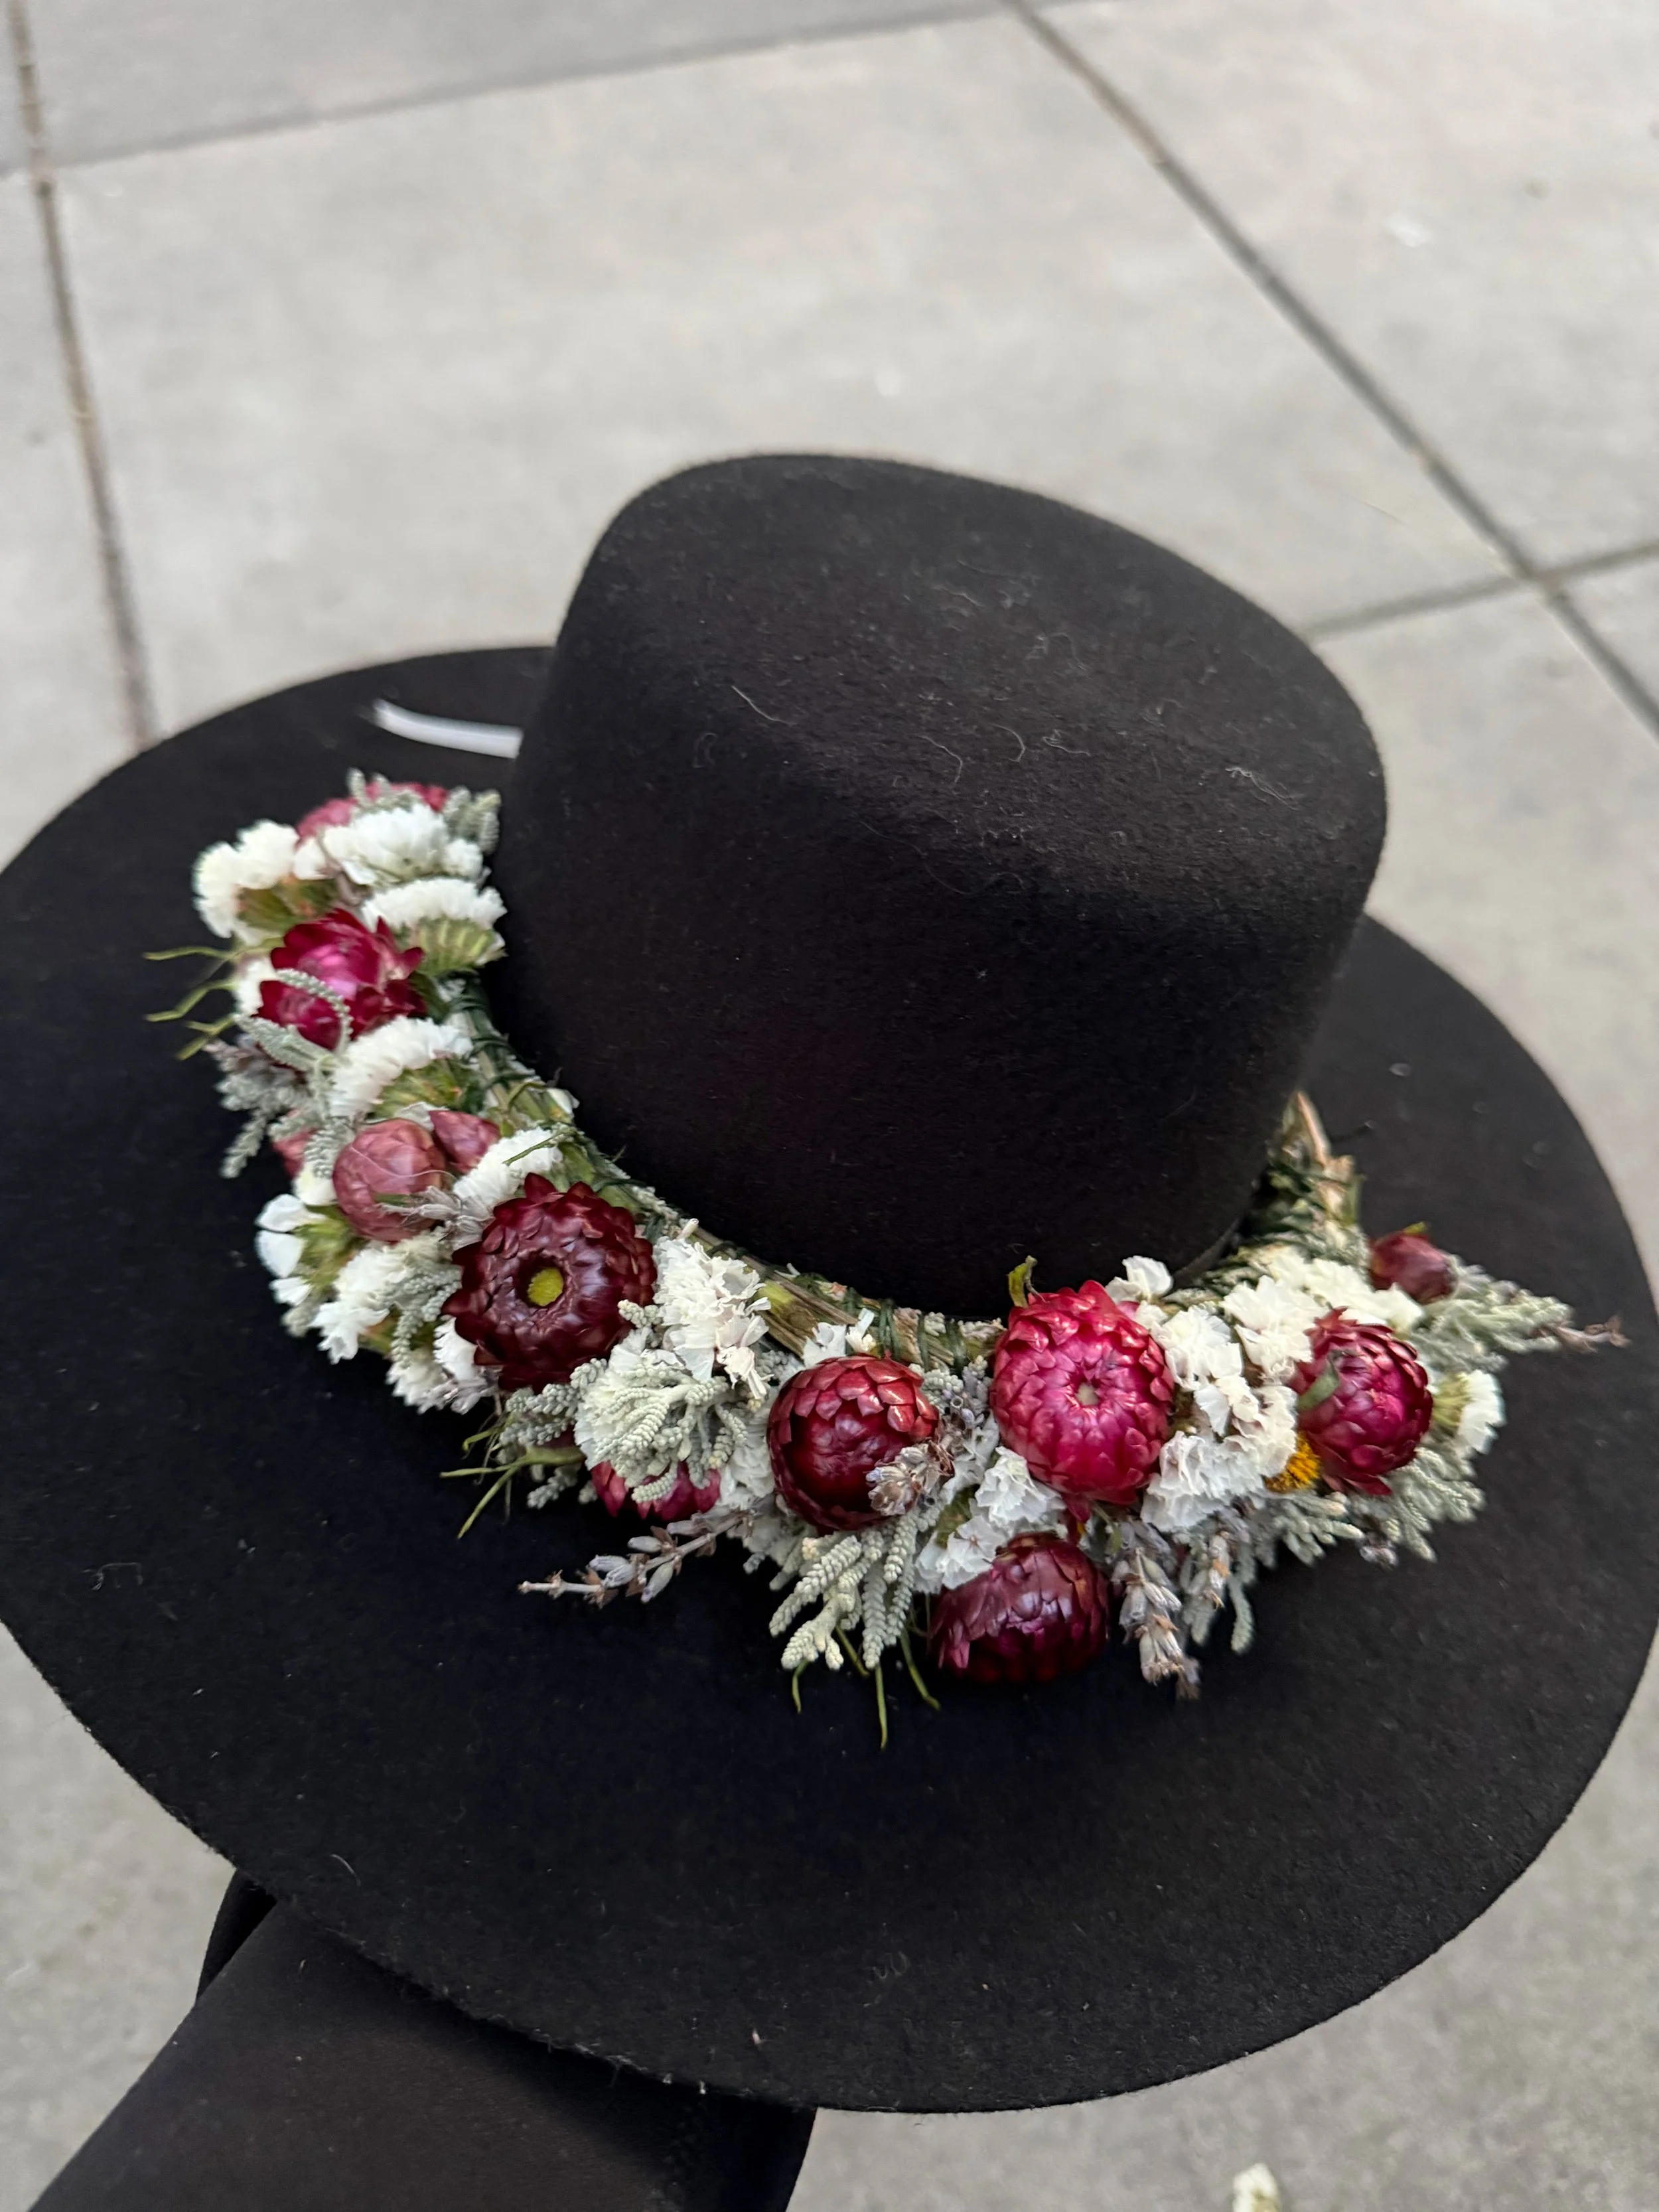
Flower Crown | Hat Band Instructions
Turn a Dry Flower Bouquet into DIY Wearable Art
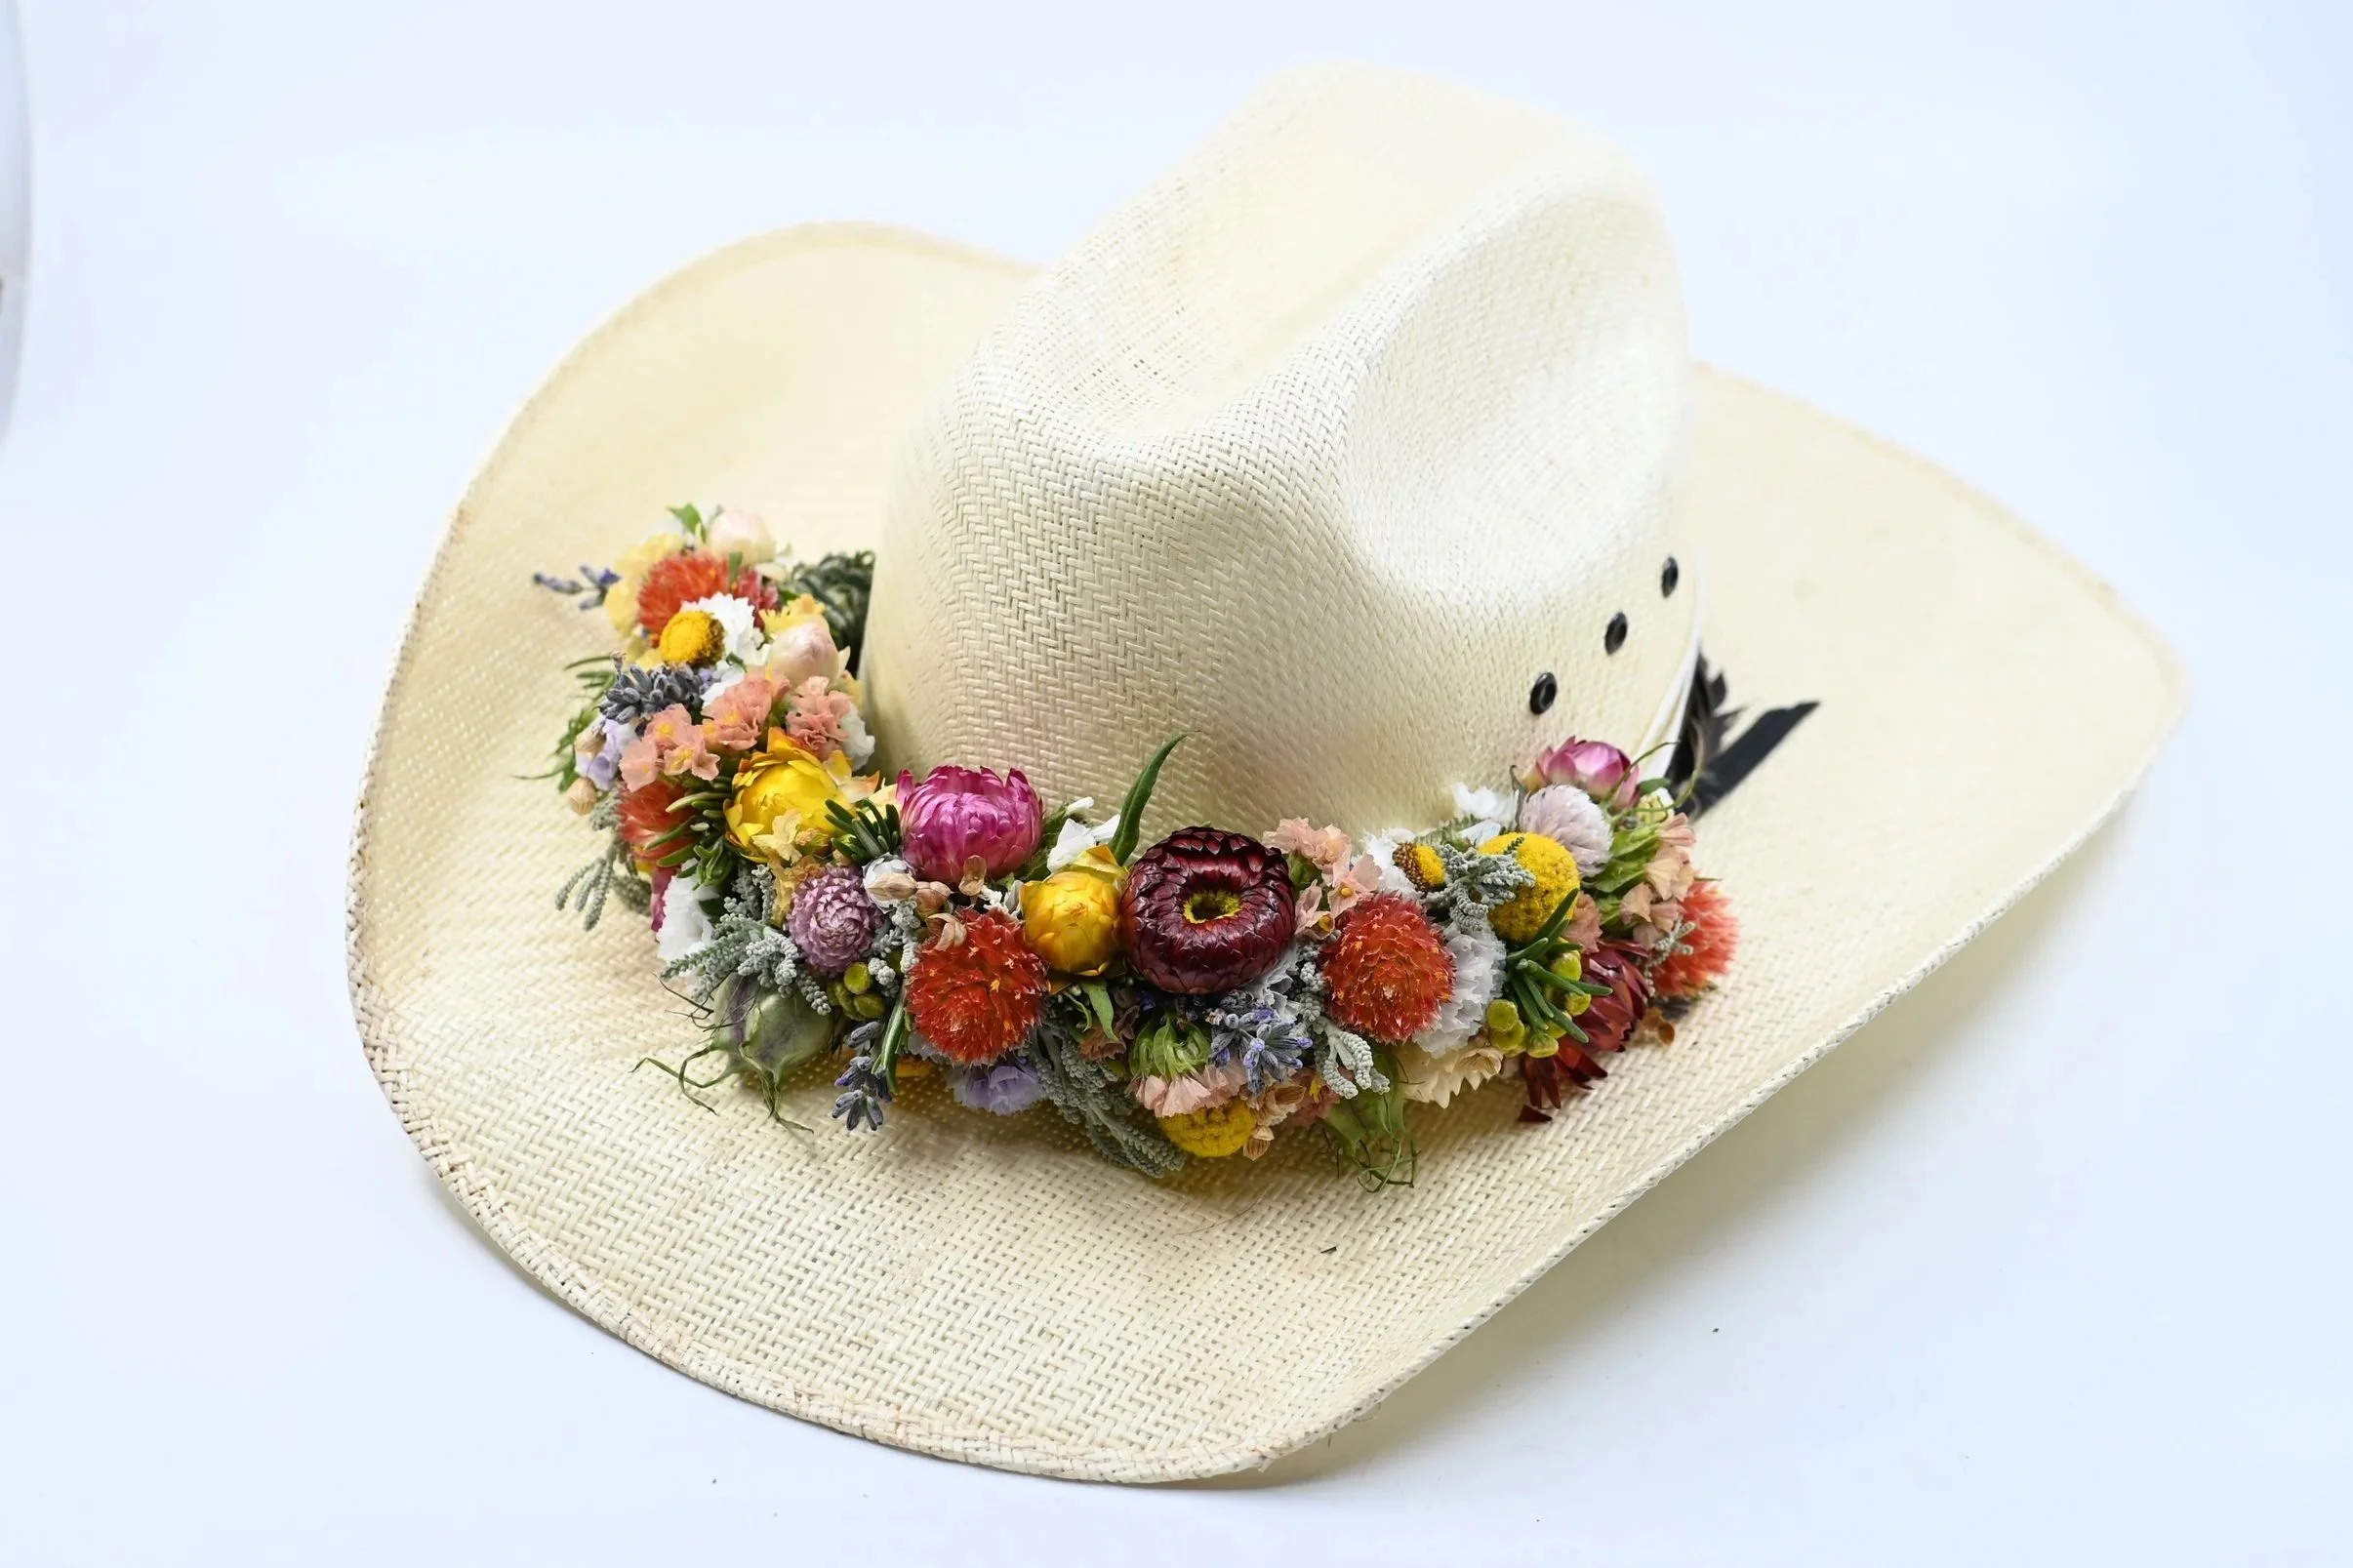
Materials Included:
Flowers
Wrapped Floral Wire
Ribbon
Tools Needed:
Scissors or trimmers
1. Deconstruct Your Bouquet
Take your bouquet apart and separate the flowers and greenery into individual stems or small, workable pieces.
Group similar flowers and materials together so you can easily see with what you have to work.
2. Make the Base
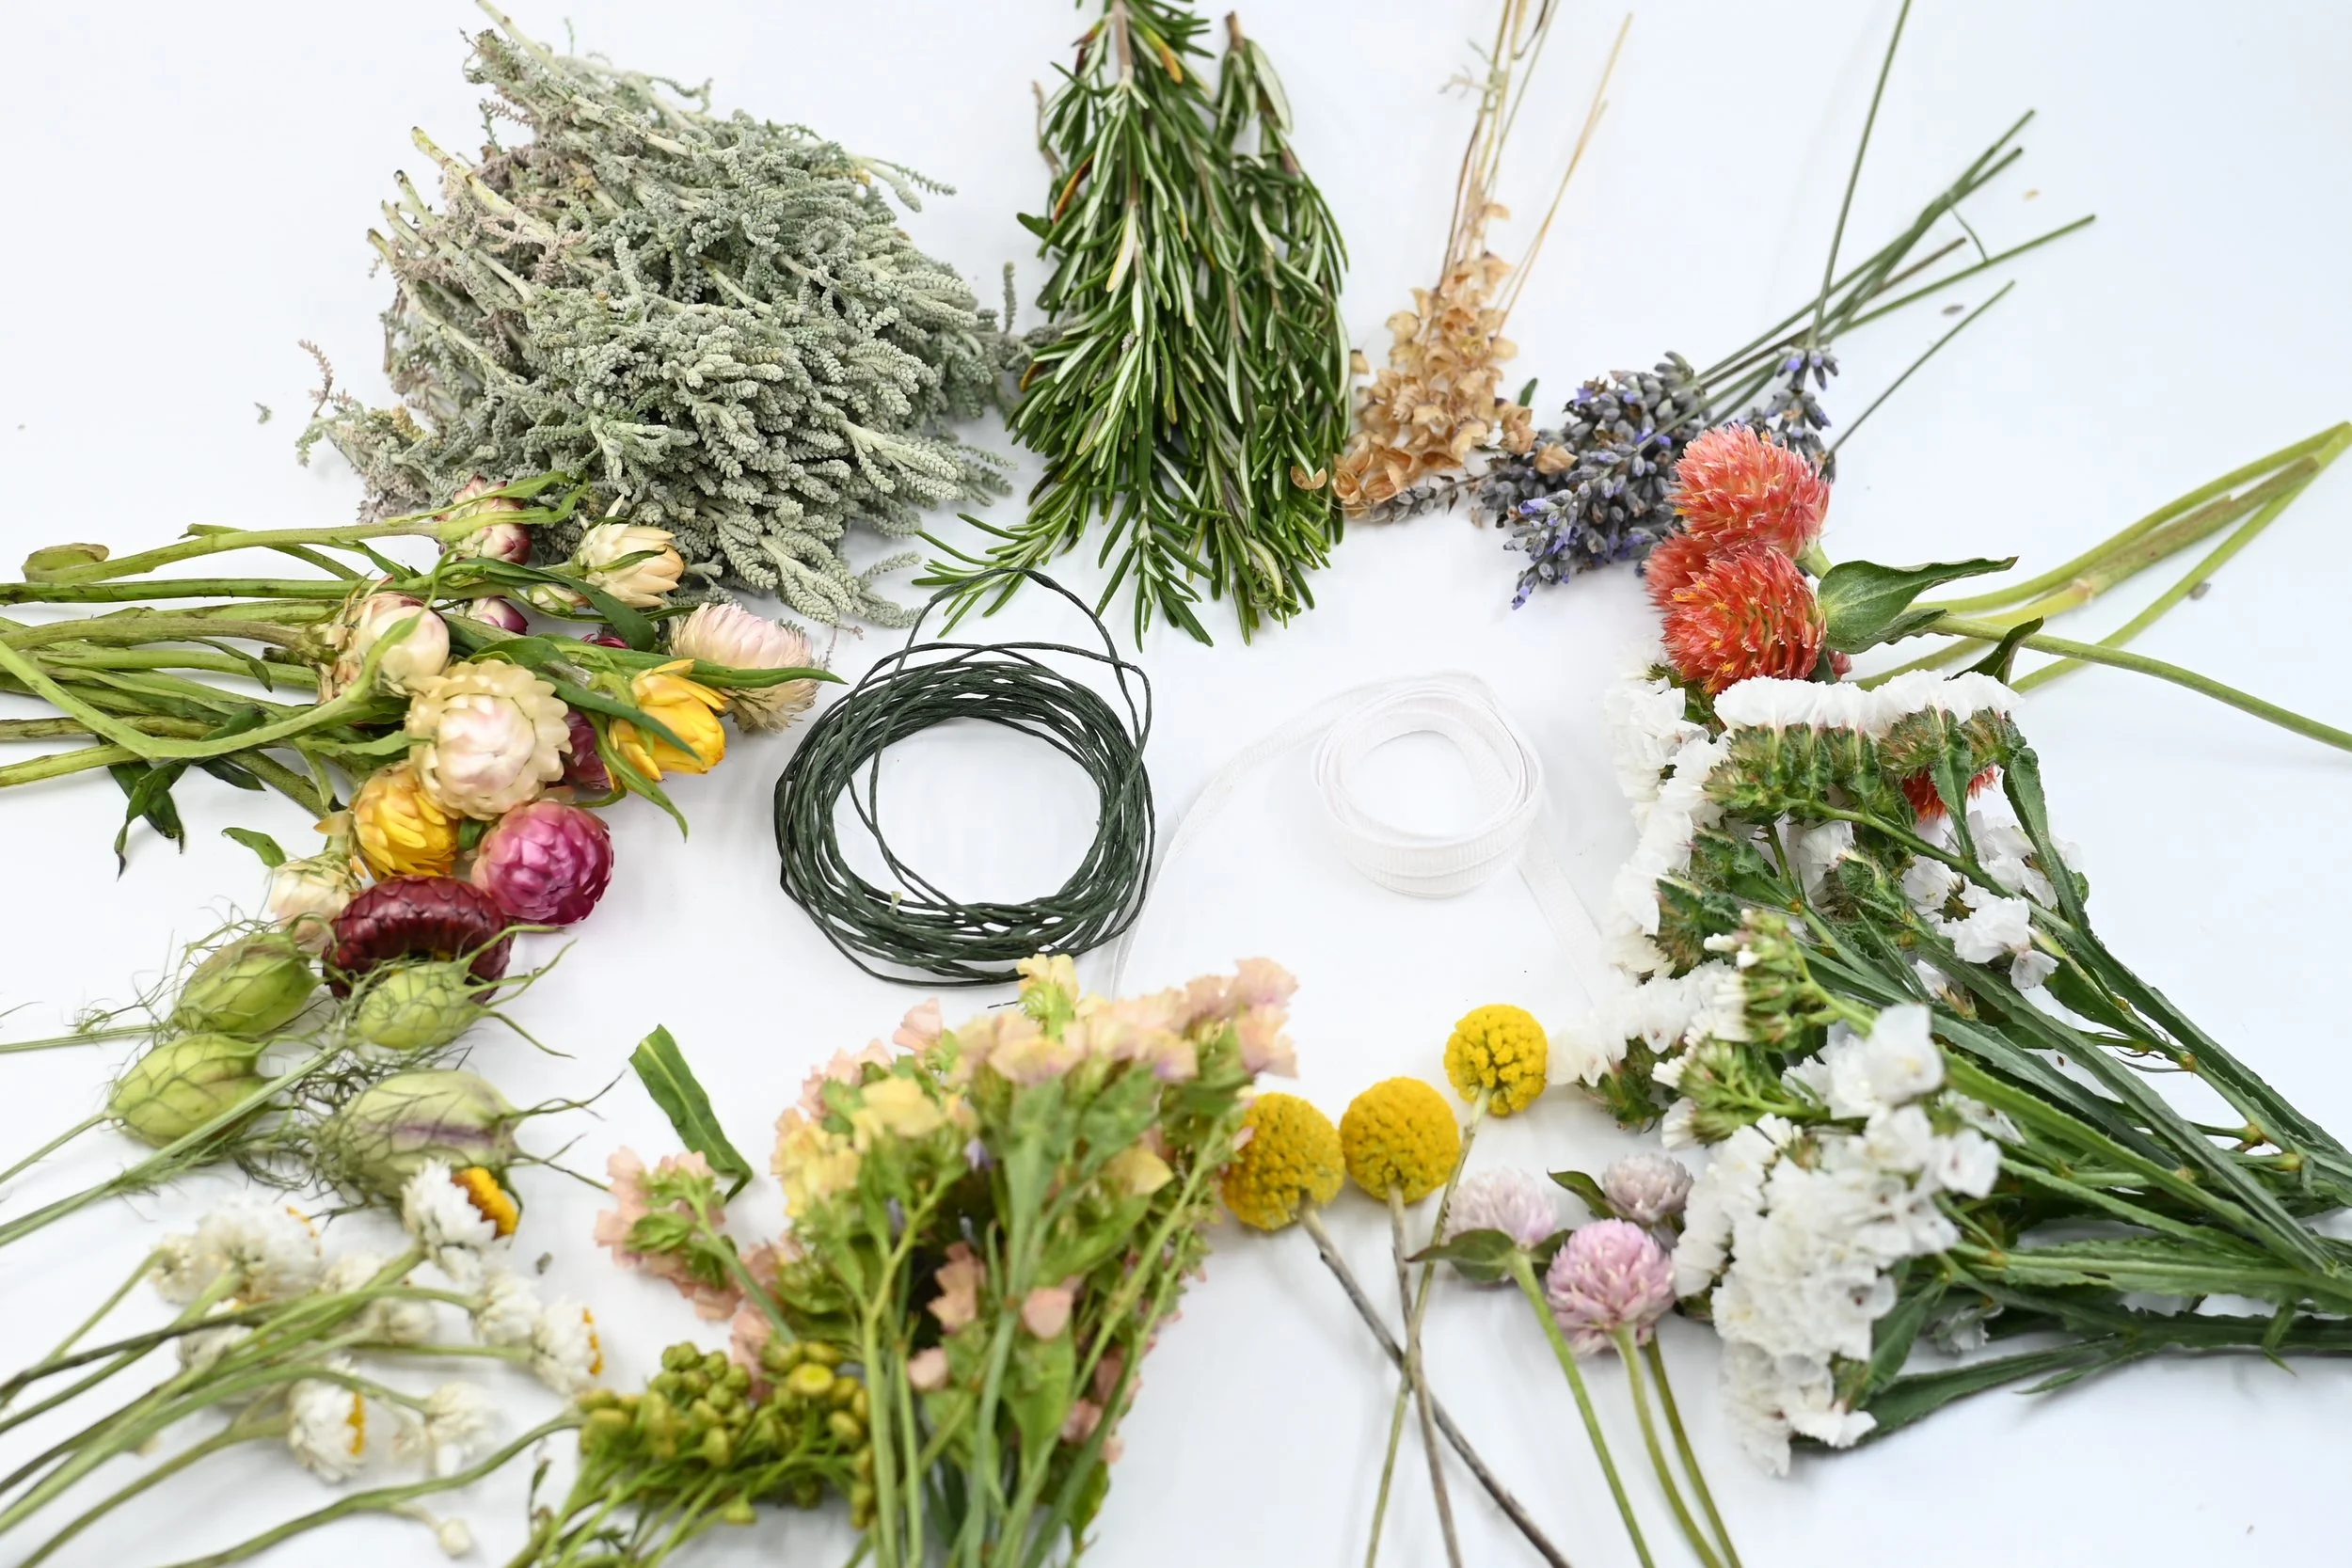
Cut an 18-inch piece of wrapped floral wire.
Form a 1-inch loop at one end and twist to secure.
Place the loop above one ear, then wrap the wire across your head to the other ear. Or, if making a hat band, measure the wire around your hat.
Form a second loop at measured end and twist the remaining wire back onto the base to secure it.
This creates the crown base.
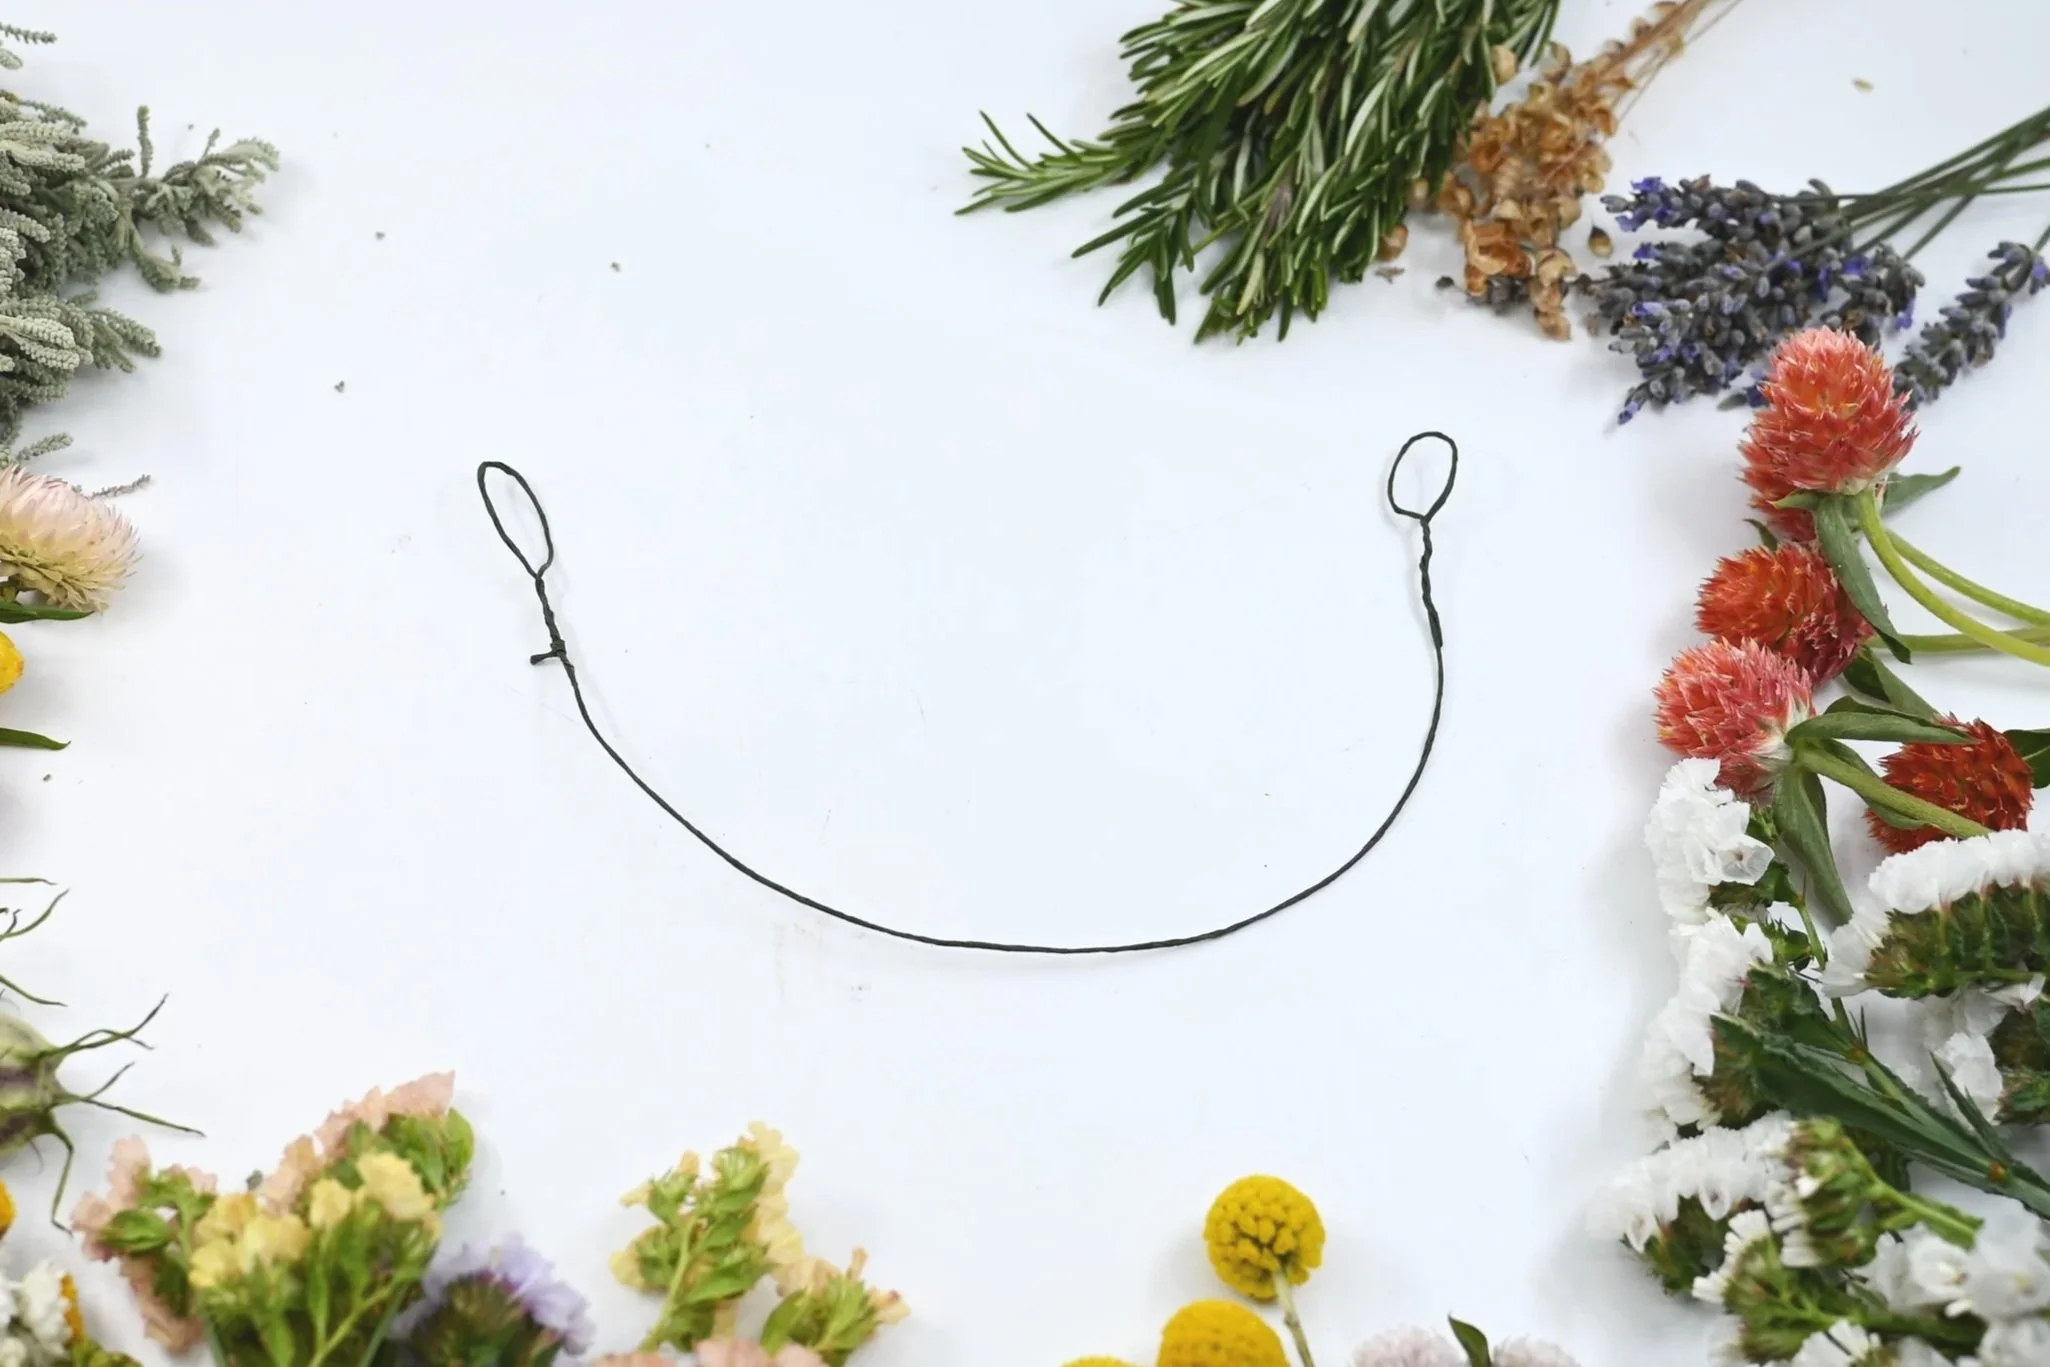
3. Start First Flower Cluster
Select a small cluster of flowers or greenery.
Use a second piece of floral wire as your wrap wire.
Position the cluster next to a loop and wrap it tightly to the base.
Tip: Keep flowers snug against the loop so the crown sits properly.
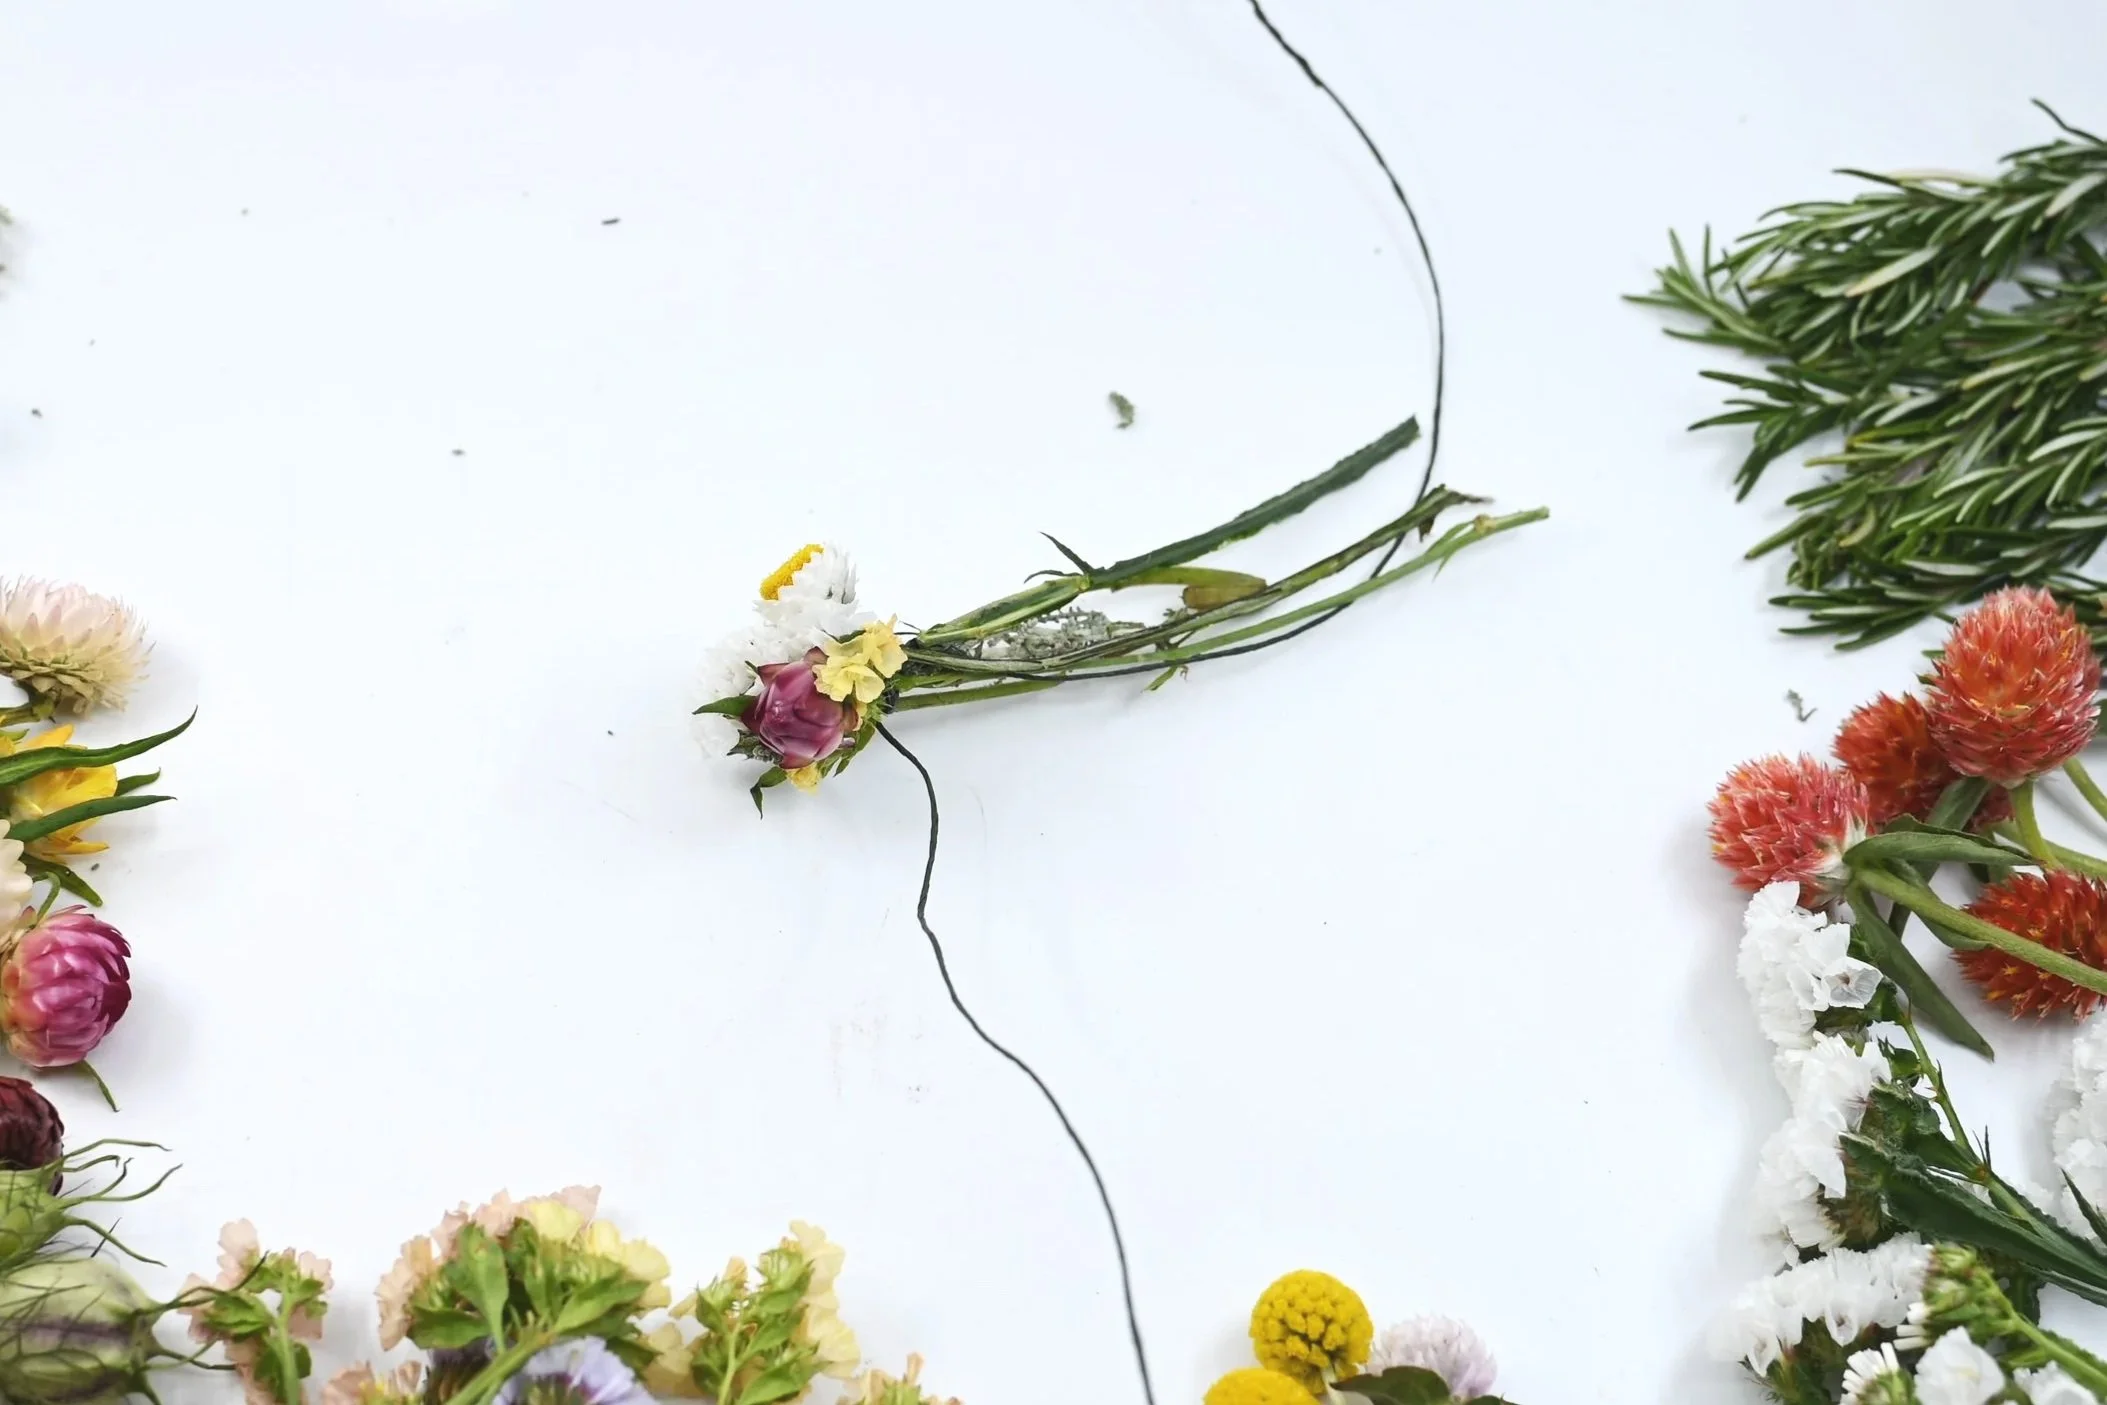
4. Continue Layering
Repeat: flower cluster → wrap → flower cluster → wrap.
Overlap each new cluster over previous stems.
Face all flowers outward.
Keep the inner side flat against the head or hat.
Maintain a consistent stem direction throughout.
Maintain even thickness and fullness around the crown.
Distribute colors and flower types evenly across the design.
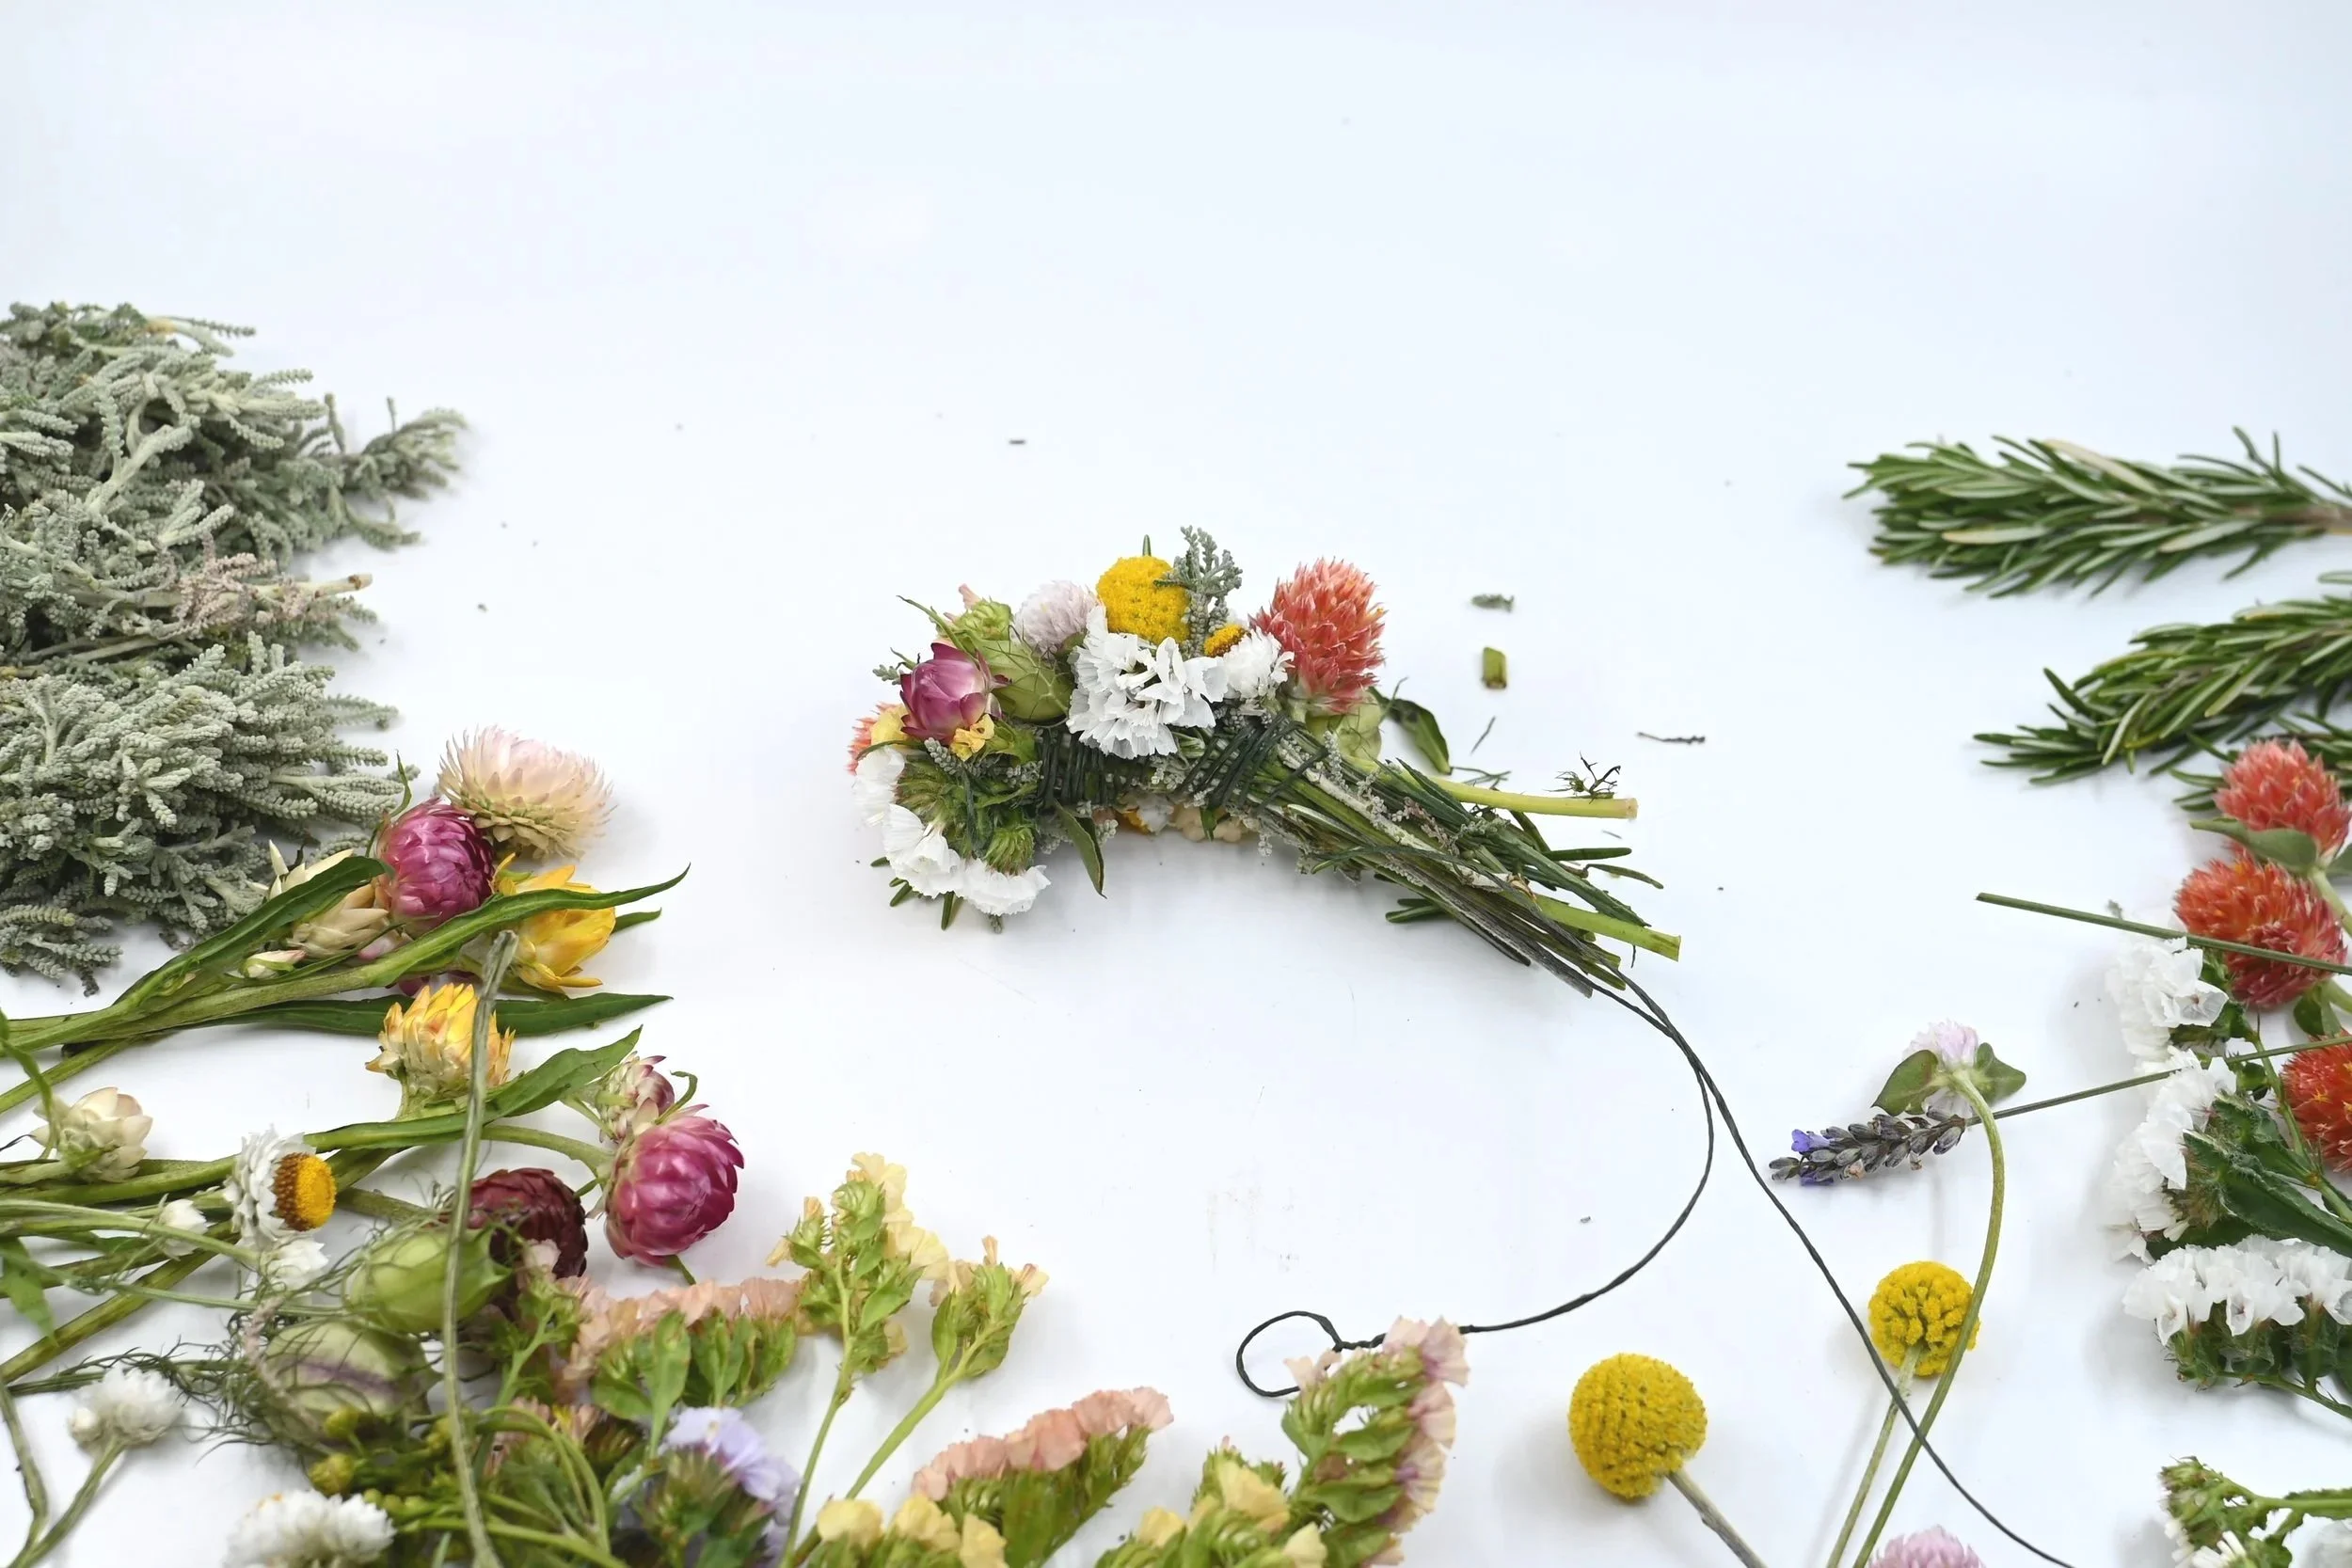
5. Trim as You Go
Trim excess stems regularly to reduce bulk.
Cut stems at an angle for smoother layering.
Avoid cutting the base wire.
Break or cut large fillers (e.g., statice) into smaller pieces if needed.
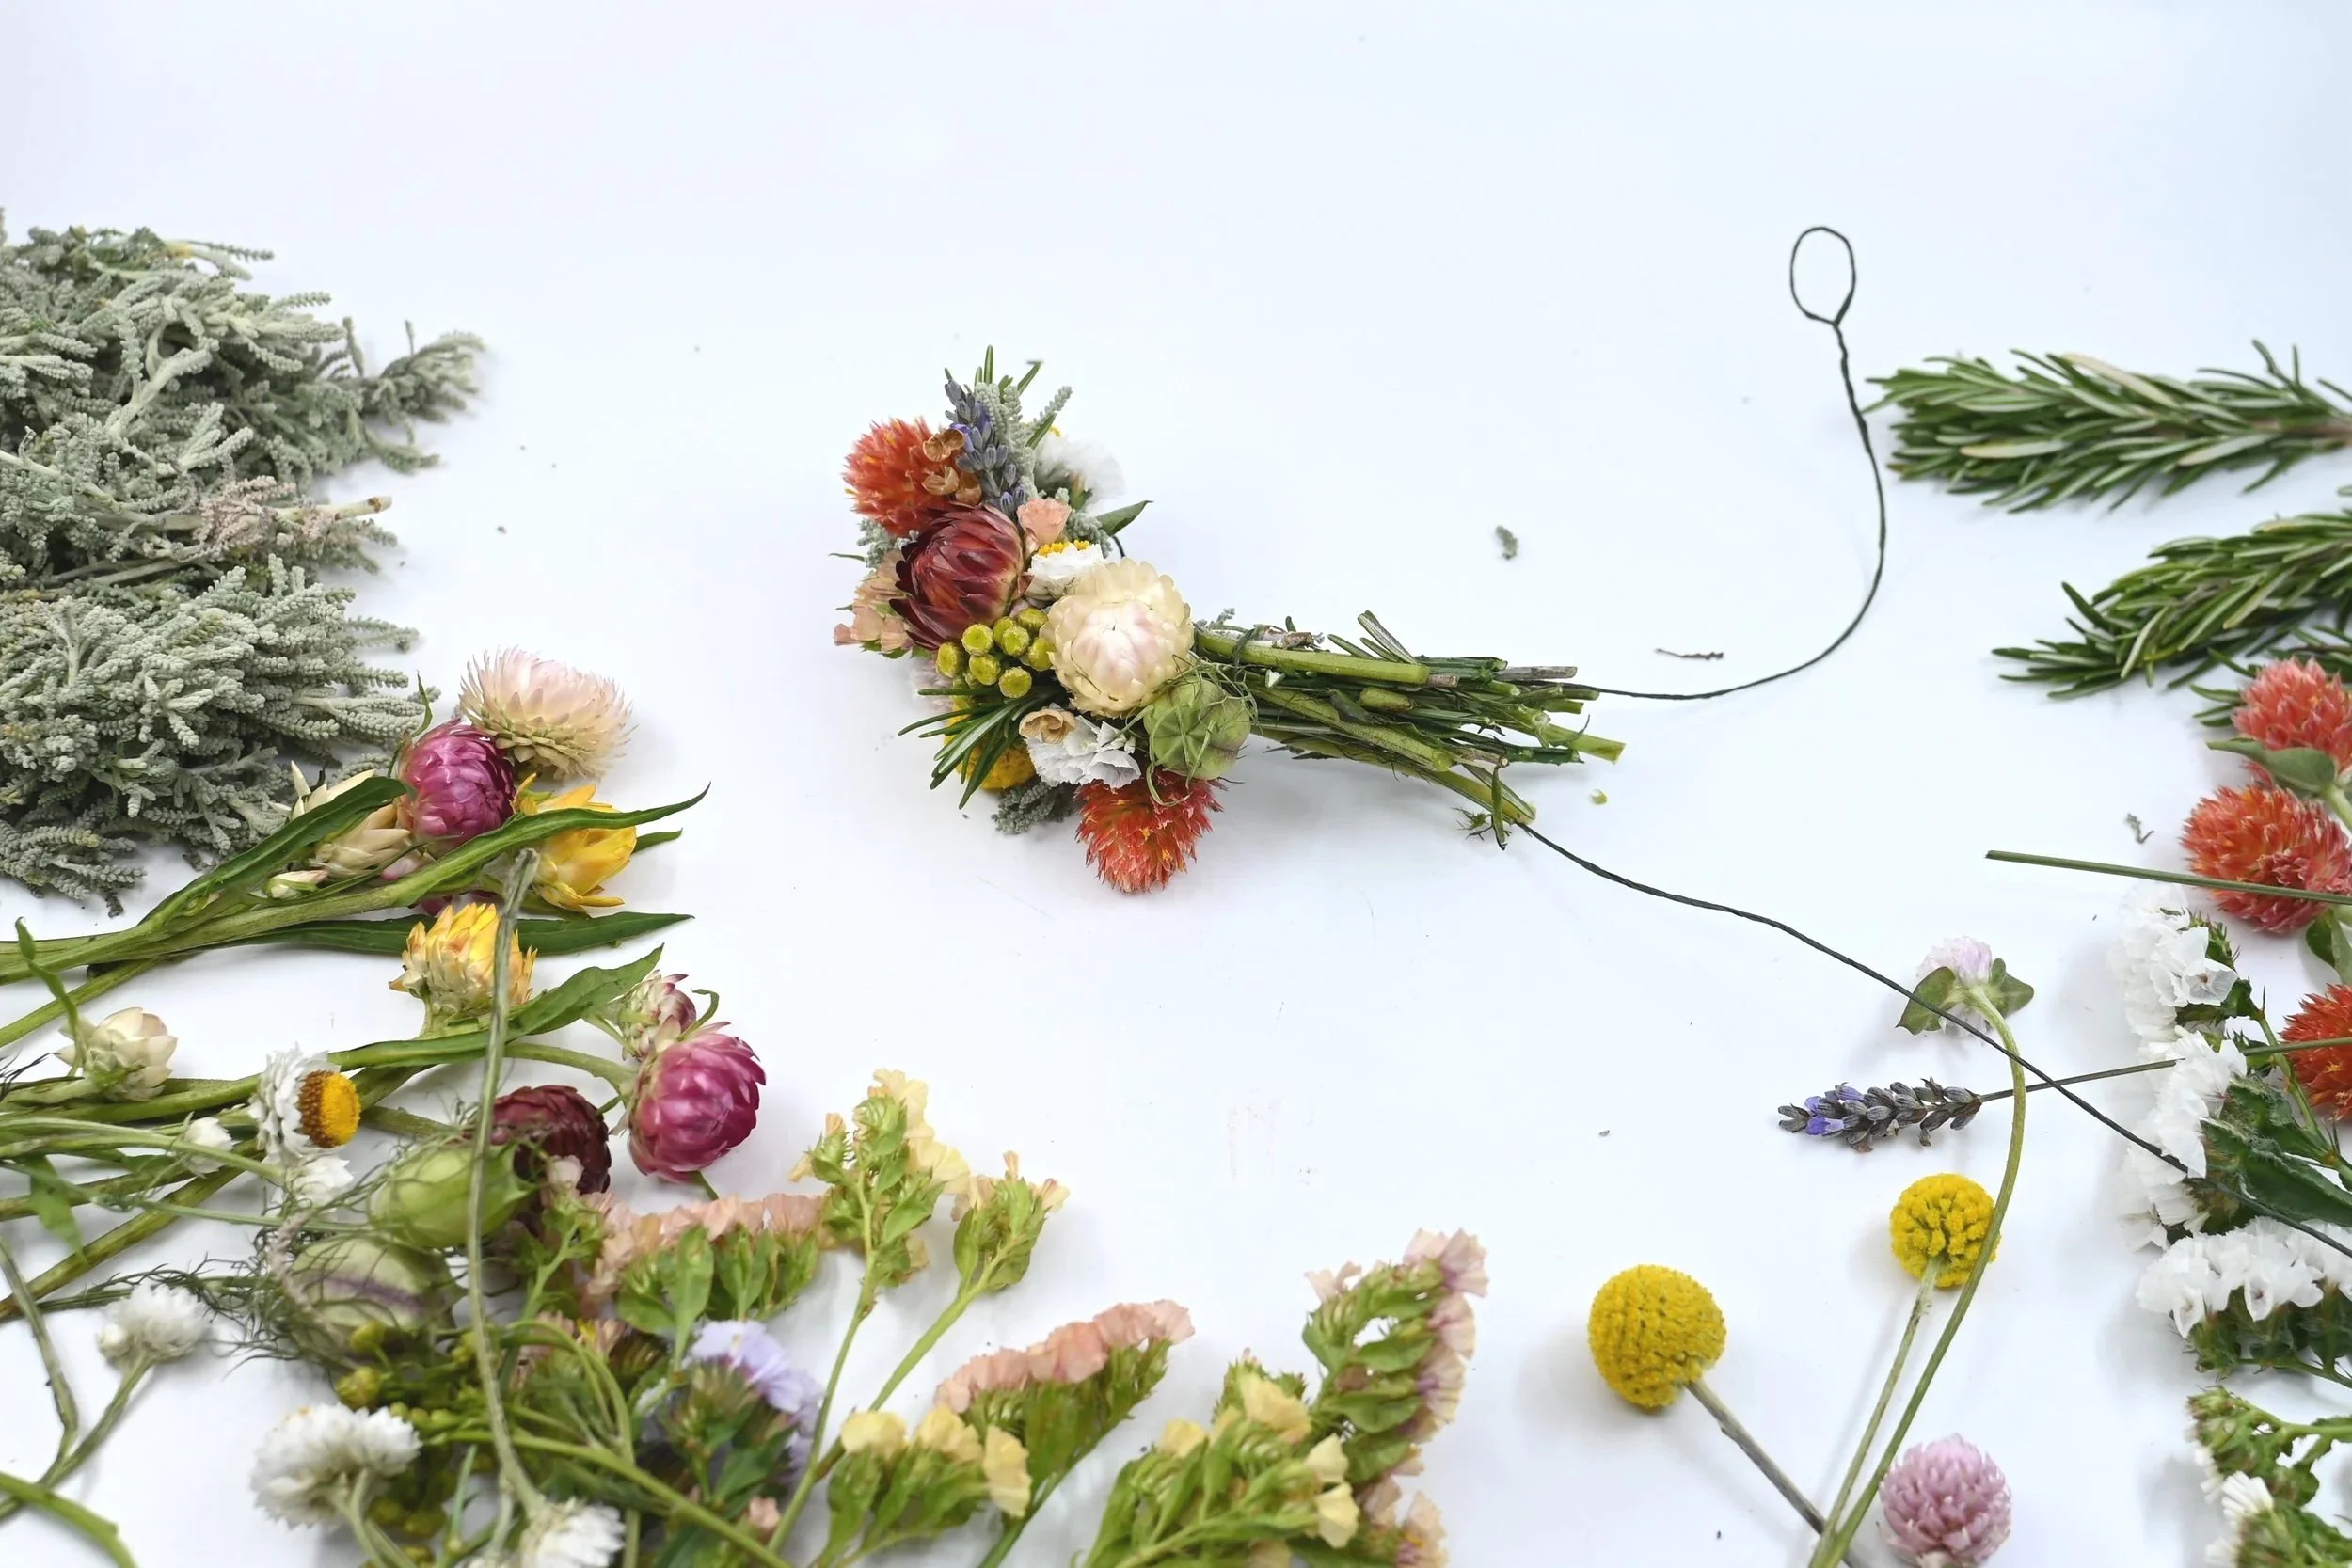
6. Finish Flowers
At the second loop, secure the final cluster.
Trim remaining stems; the end can be more abrupt.
Thread wrap wire through the loop, twist tightly, and cut excess.
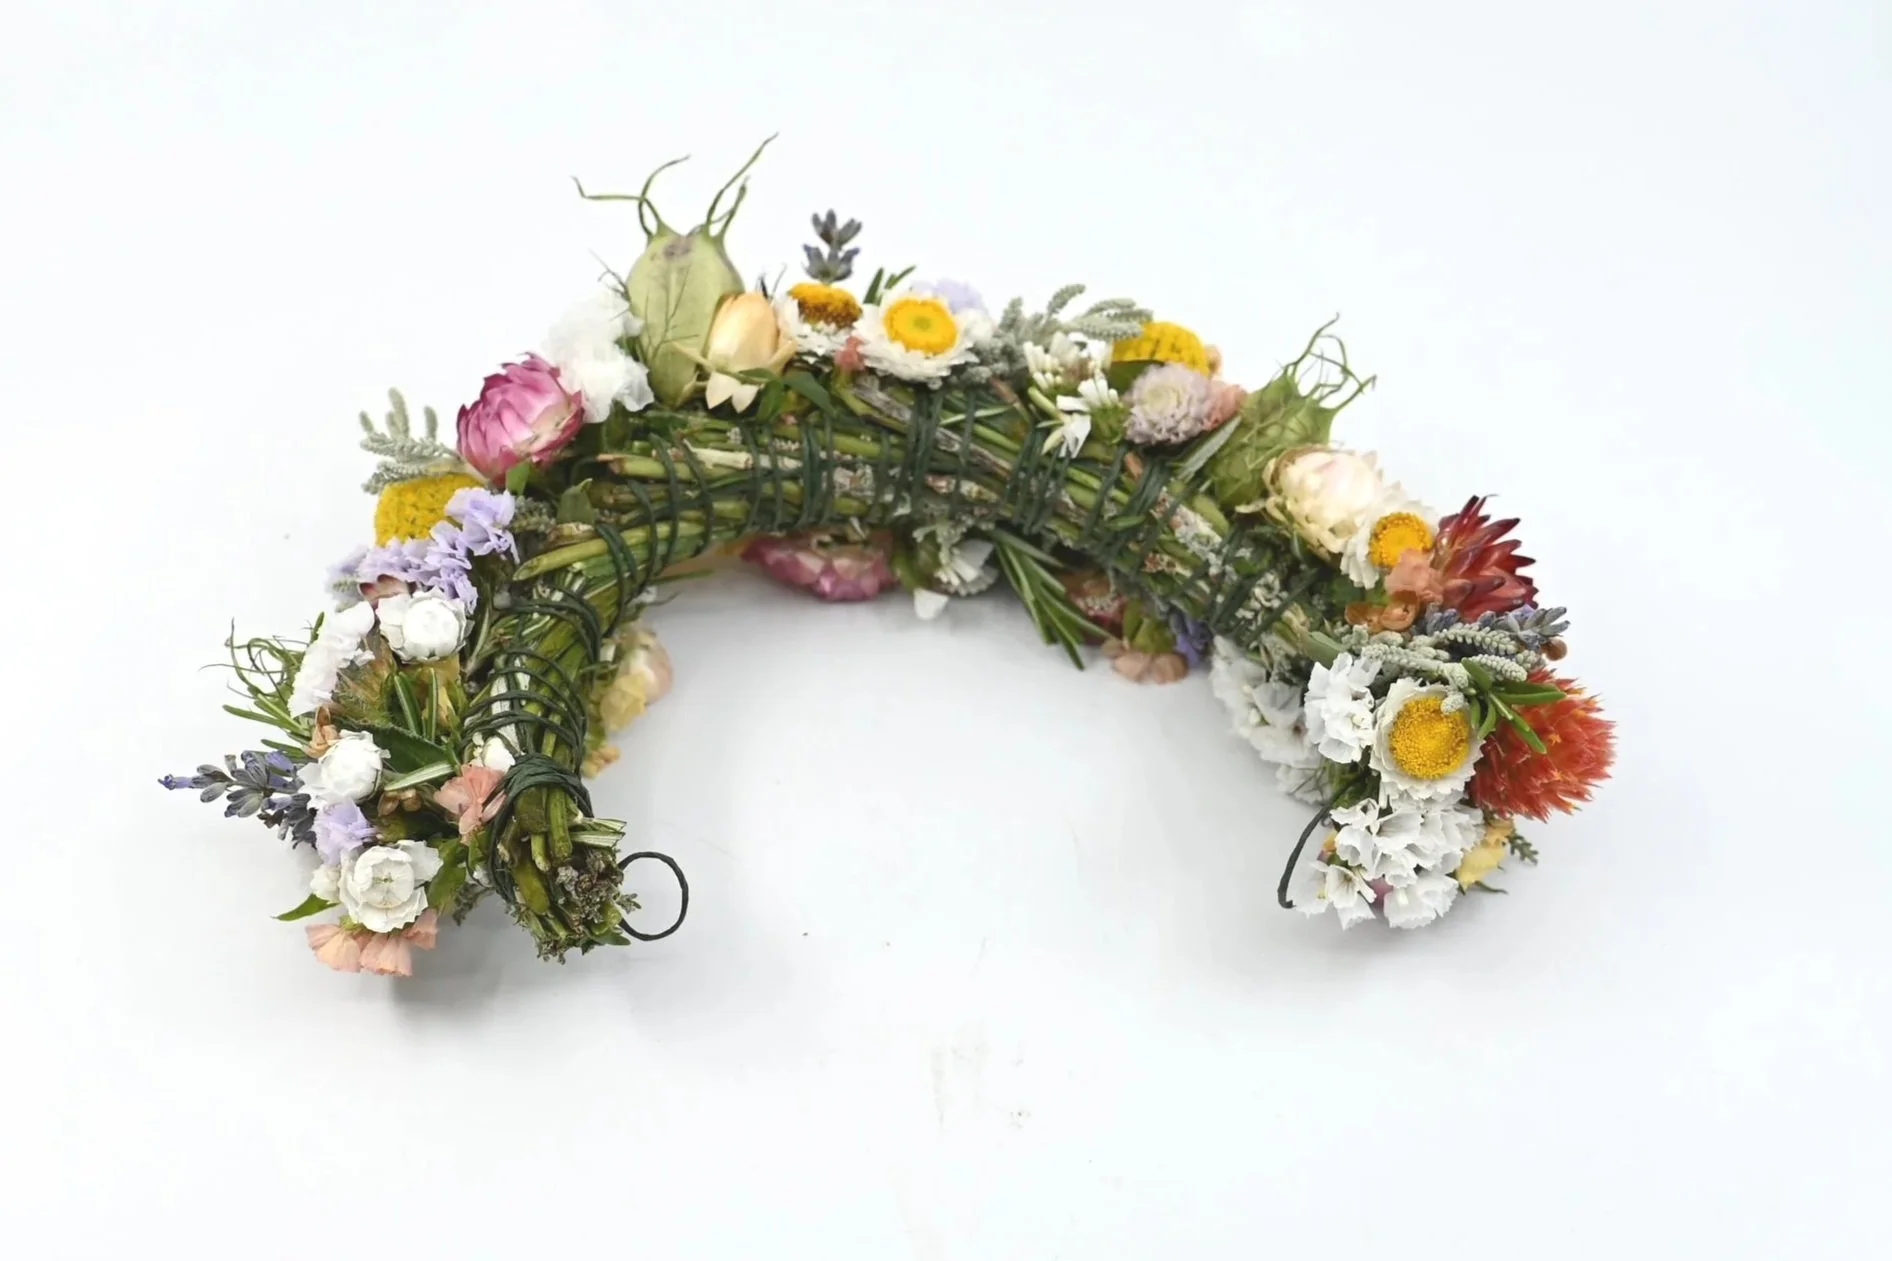
7. Add Back Tie
Thread ribbon or wire through both loops to create an adjustable closure.
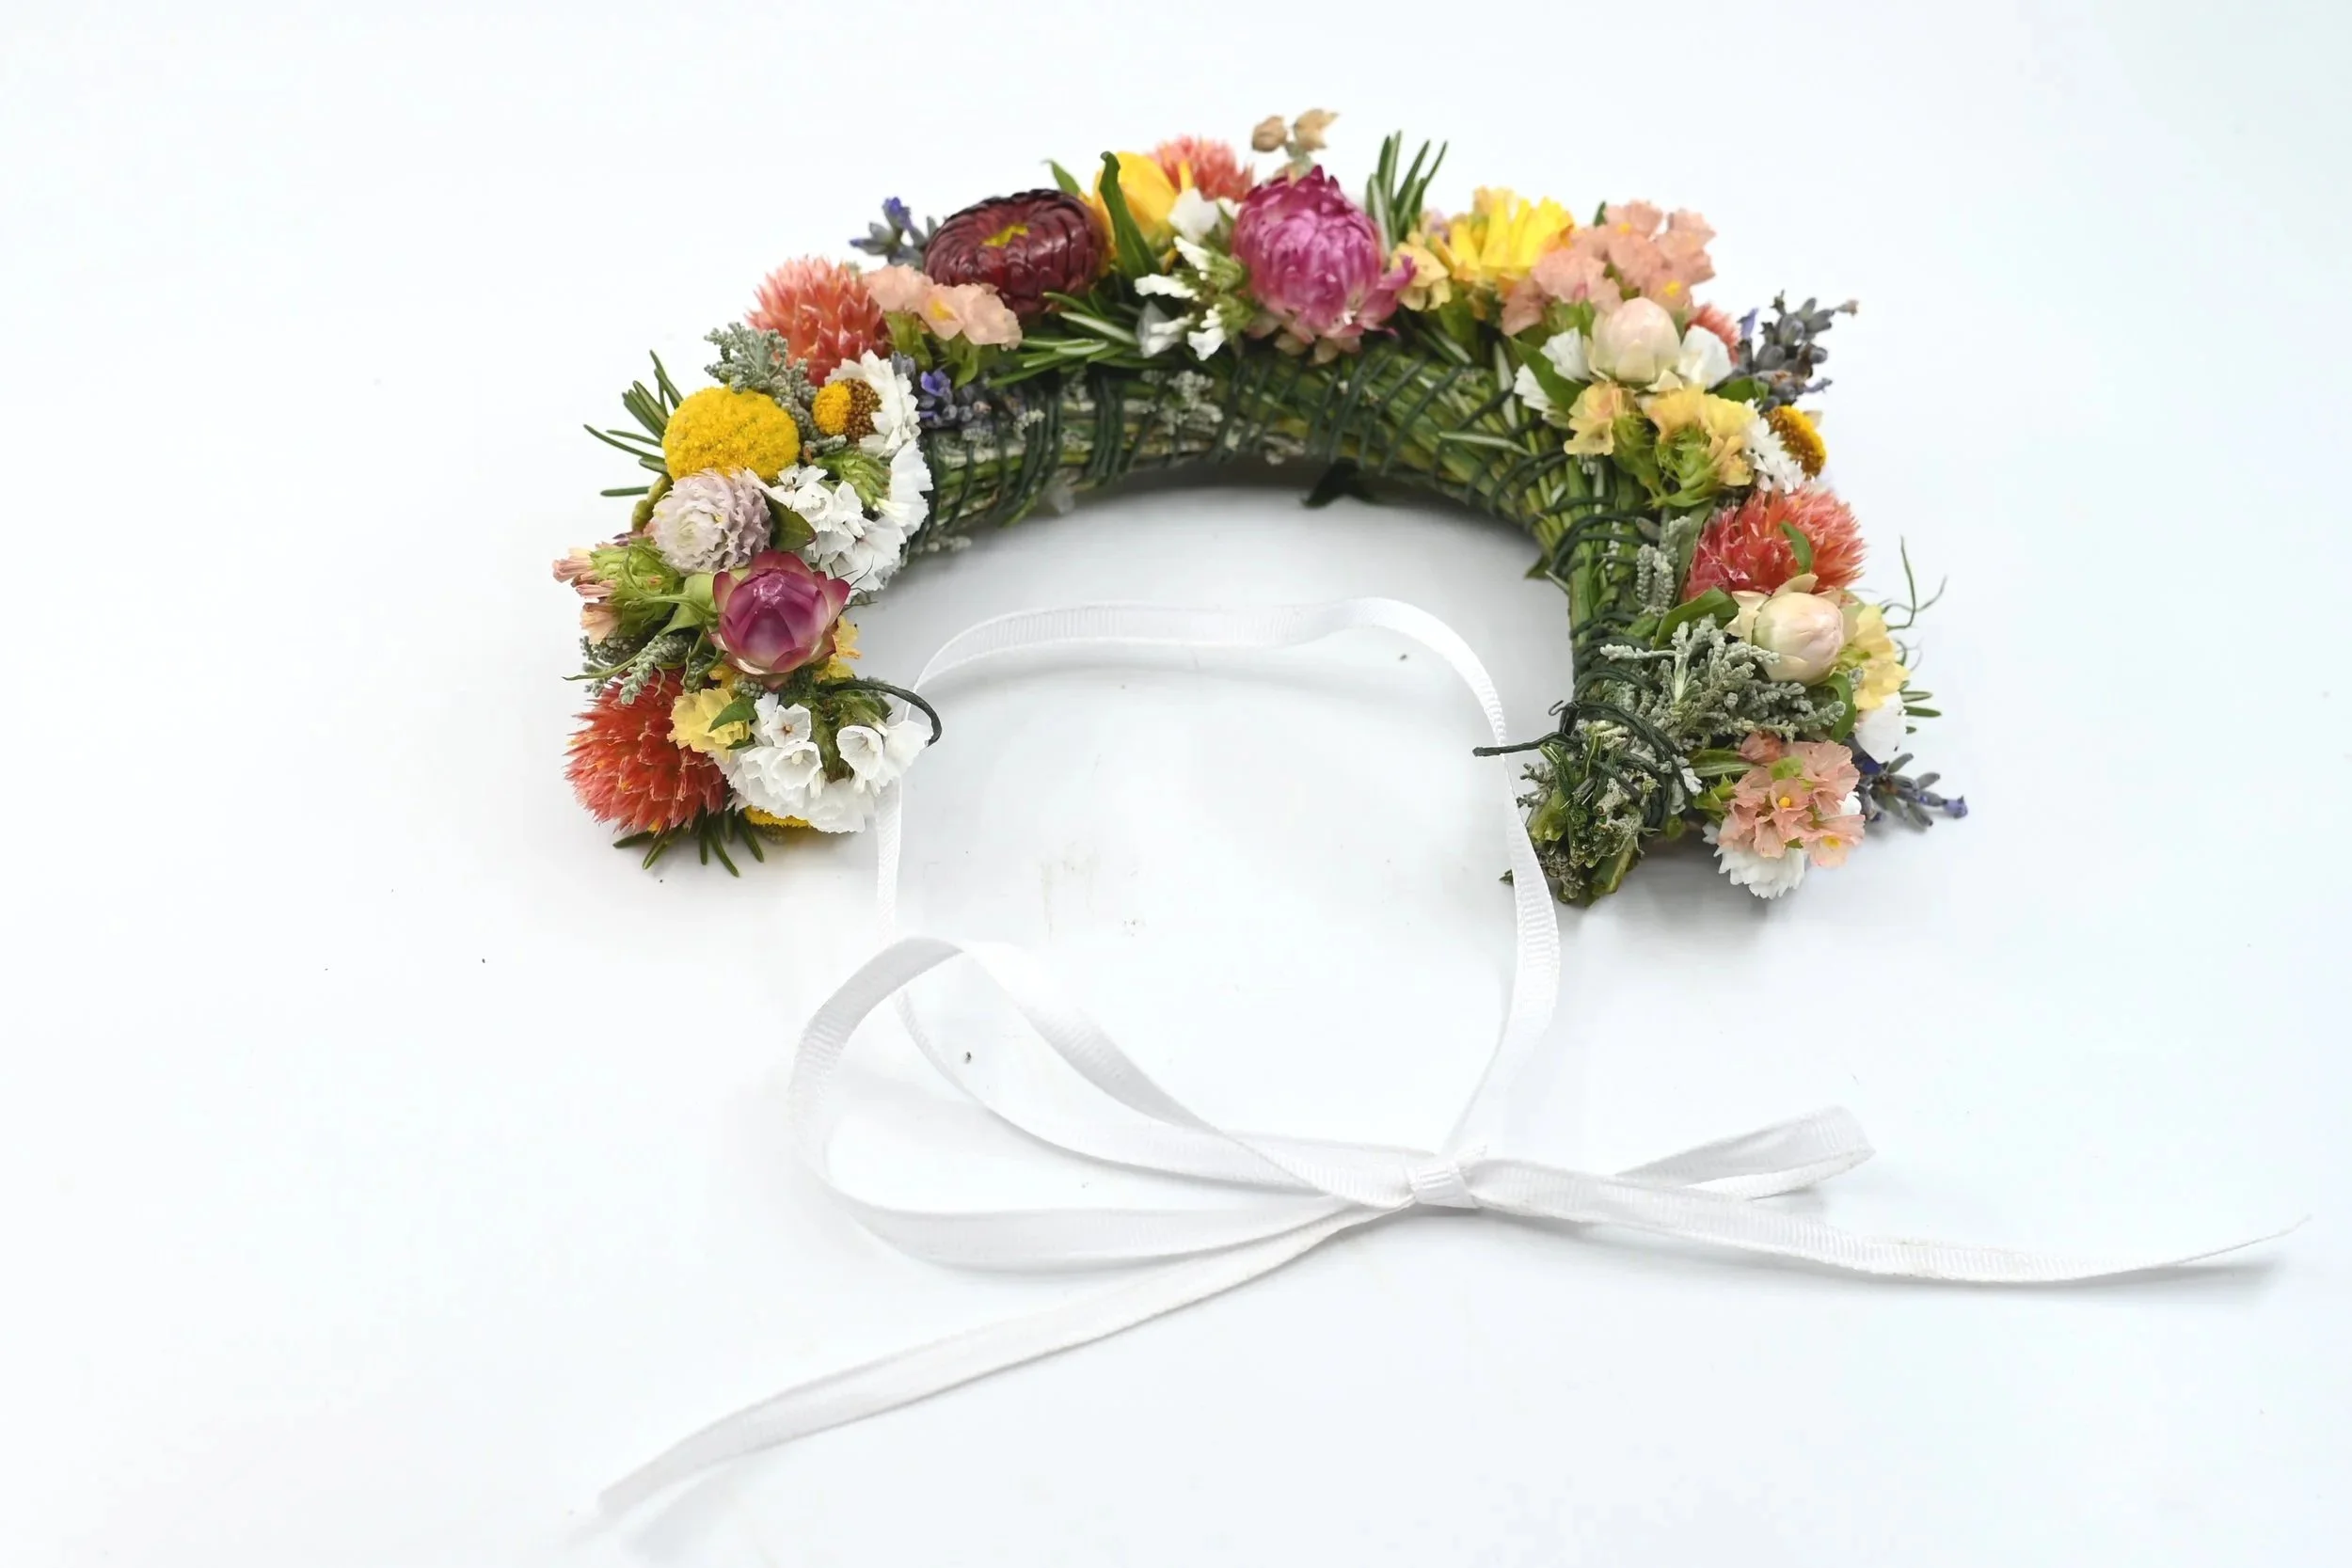
8. Wear It
Place the crown on your head or hat.
Adjust for comfort and tie securely at the back.